
Last updated November 15, 2026
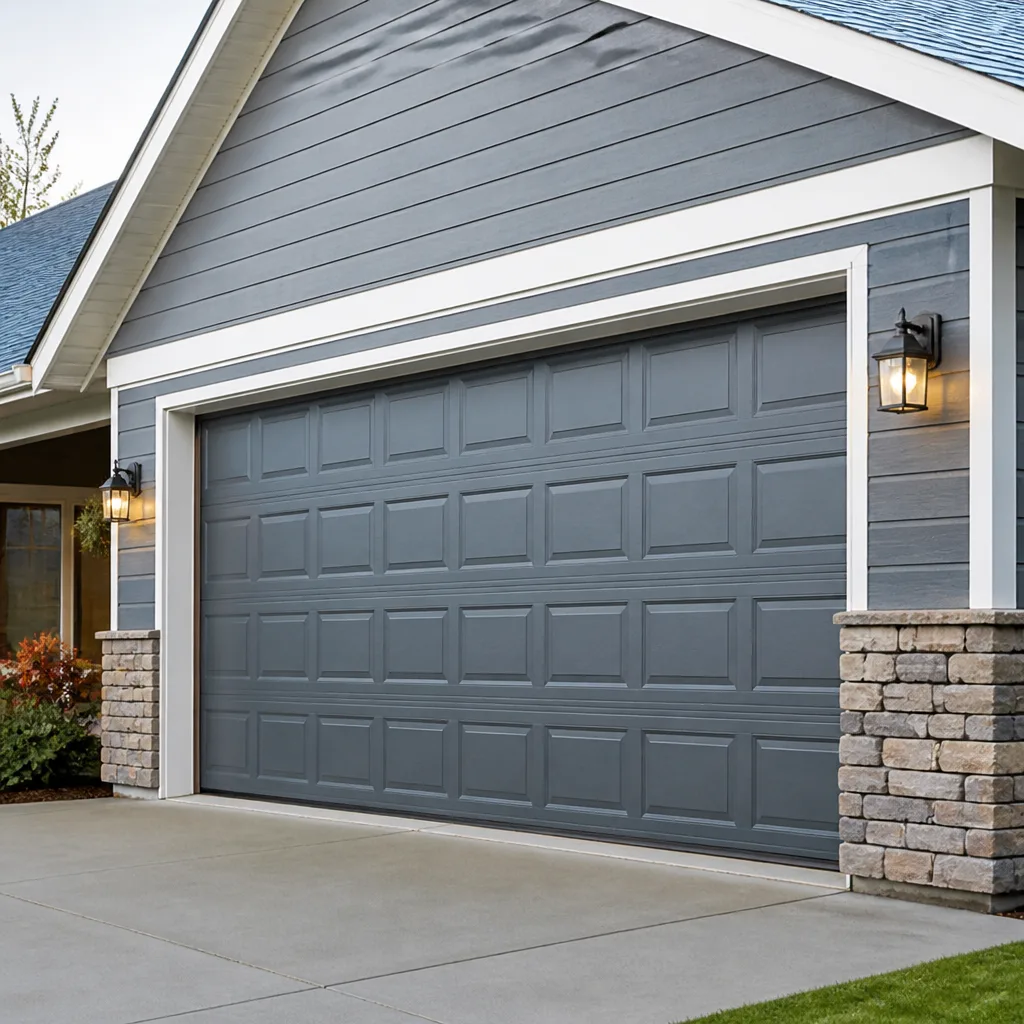 Raised-panel steel
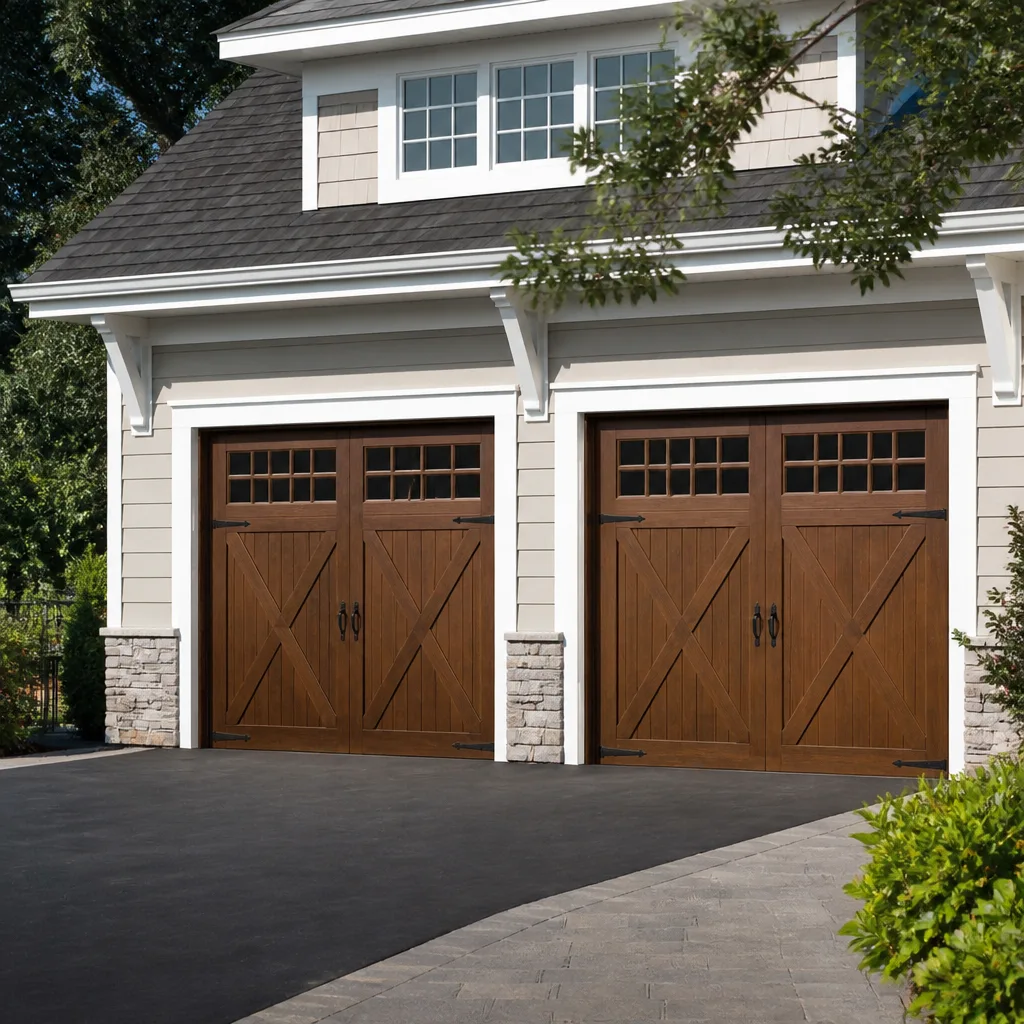 Carriage house
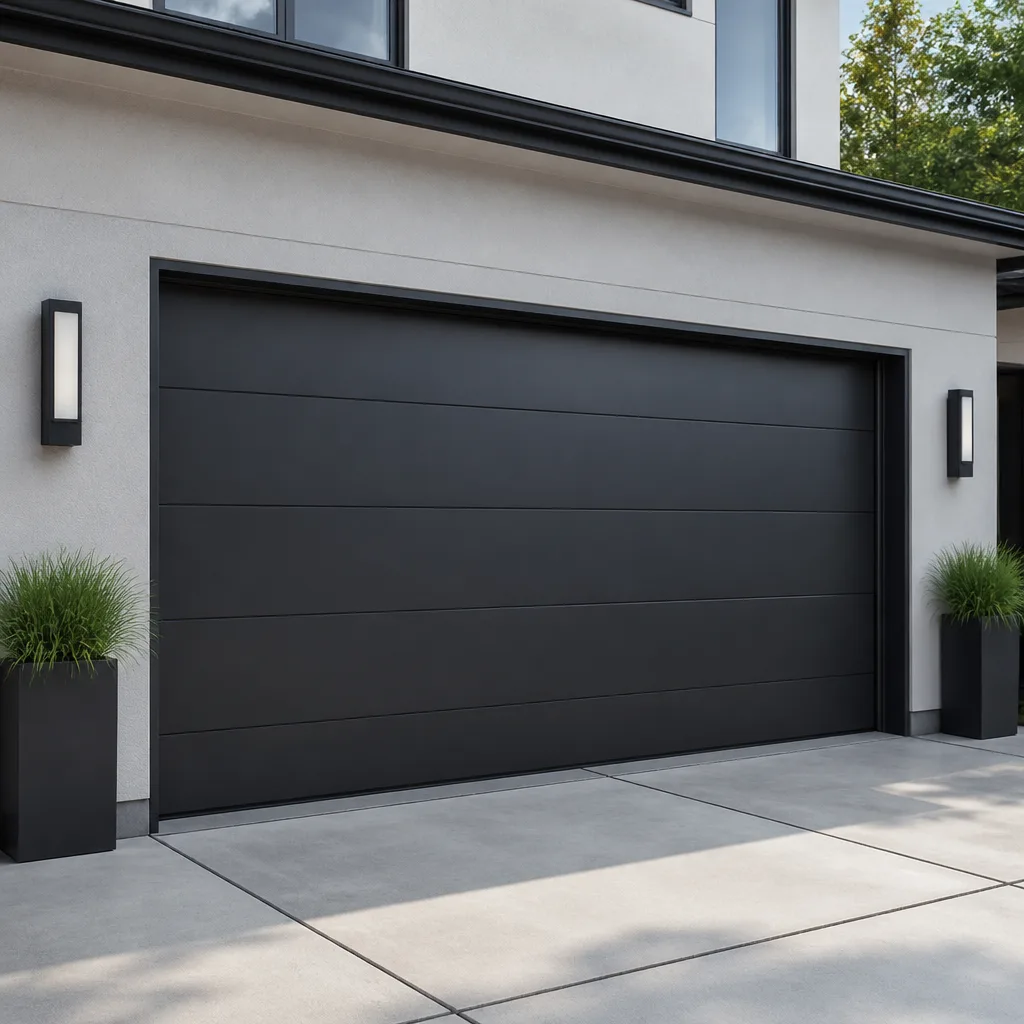 Modern flush
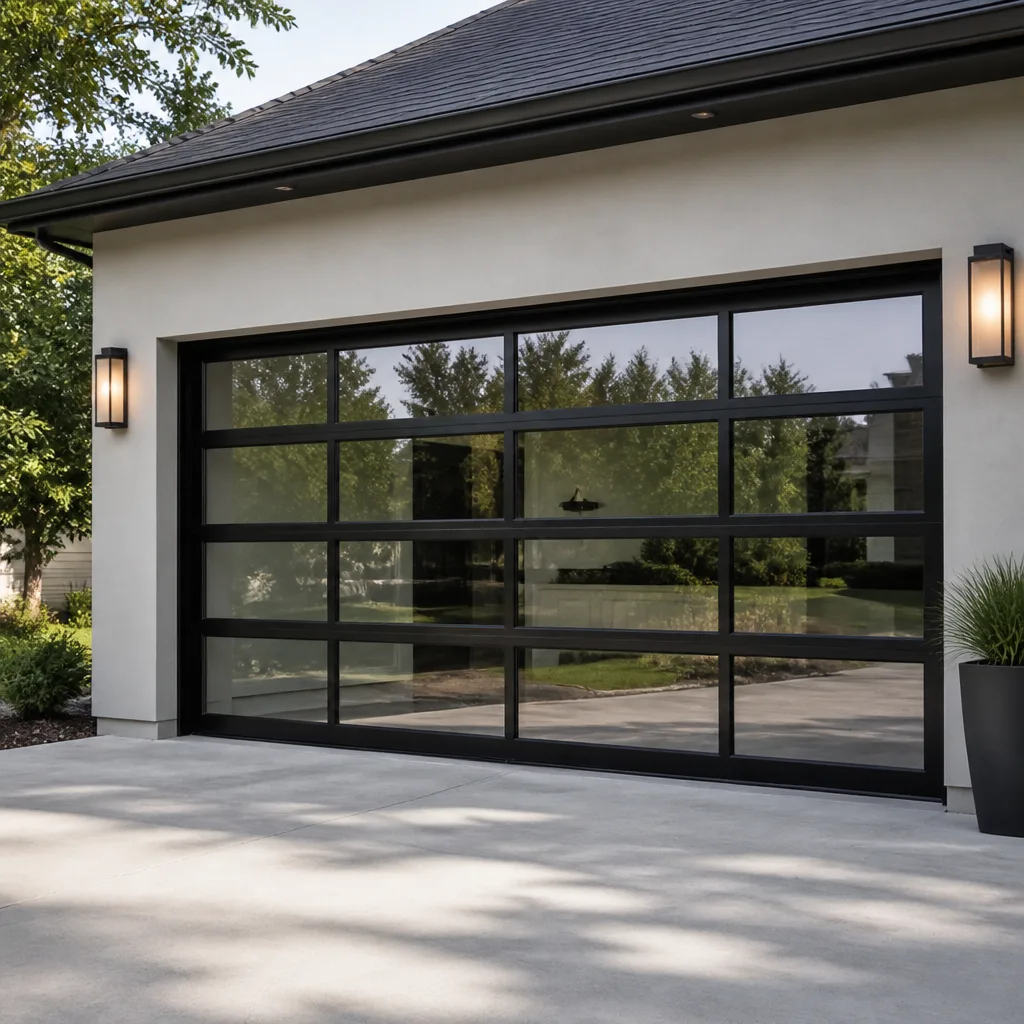 Full-view glass
 LiftMaster openers
 Chamberlain openers
Full 25-point door and opener safety check with every visit - springs, cables, rollers, tracks, and your LiftMaster or Chamberlain opener included
You get a price before we start. It does not change when the pro arrives.
Get your free estimateGarage Door Repair Maintenance Checklist for Broken Arrow Homeowners
Most garage door advice you’ll find online was written for a climate that doesn’t exist here. The number-one cause of premature spring failure in Oklahoma isn’t age. It’s a single missed lubrication cycle during the temperature swing between October and December, when metal contracts fastest and every moving part on your door is working against itself. A Clopay door in a Broken Arrow subdivision lives a different life than the same door in a mild climate, and a checklist that ignores that difference wastes your time. This guide is organized around what you actually own and what Oklahoma weather actually does to it: brand-specific lubrication points, seal checks after freeze-thaw, opener diagnostics you can run yourself, and the visual signs on a torsion spring that tell you replacement is 60 to 90 days out rather than tomorrow.
Quick Answer
A working garage door maintenance routine in Broken Arrow means four things done consistently: lubricating hinges, rollers, and the torsion spring at the change of seasons, checking the bottom seal after every freeze-thaw cycle, running your opener’s self-diagnostic before you call anyone, and logging what you find so any technician can diagnose faster. Most of this takes 15 minutes and no tools beyond a ladder and a can of proper lubricant. The rest is knowing what you’re looking at, which is what the sections below cover in detail.
Styles & brands we work with
- Raised-panel steel
- Carriage house
- Modern flush
- Full-view glass
- LiftMaster openers
- Chamberlain openers
Table of Contents
- Why Broken Arrow Weather Wears Doors Differently
- Brand-Specific Lubrication Points: Clopay, Wayne Dalton, and Amarr
- Checking Your Bottom Seal After Freeze-Thaw Cycles
- Opener Self-Diagnostics: LiftMaster, Chamberlain, and Genie
- Reading Your Torsion Spring: The 60-90 Day Warning Window
- Building a Seasonal Service Log That Helps Any Technician
- What You Should Never Attempt Yourself
- How Often Should You Do This in Broken Arrow?
Why Broken Arrow Weather Wears Doors Differently
Broken Arrow sits in a climate that swings hard in both directions. Summer afternoons push the metal skin of a steel door past 130 degrees, which expands panels and loosens fasteners. Then winter brings freeze-thaw cycles that shrink that same metal and force the bottom seal to compress and release repeatedly. That expansion and contraction cycle is the thing most maintenance checklists don’t account for, and it’s the single biggest driver of wear on doors in this part of Oklahoma.
What that means in practice:
- Springs work harder. A torsion spring is a coiled piece of steel under constant tension. Every temperature cycle adds a small amount of stress. In Broken Arrow, you get far more cycles per year than a homeowner in San Diego or Miami, so springs here tend to reach their cycle limit sooner.
- Rubber seals crack earlier. The bottom seal is the most weather-exposed rubber on your door. Freeze-thaw cycles crack it faster than manufacturers’ general timelines assume, which is why we tell Broken Arrow homeowners to check it every season rather than once a year.
- Hinges loosen. The constant expansion and contraction loosens hinge screws and causes rollers to shift slightly off track. Left unaddressed, that shifting accelerates wear on the track itself.
- Opener motors strain in extreme heat and cold. A LiftMaster or Genie opener that runs fine in spring will work noticeably harder when the door’s moving parts are stiff in January or the motor is fighting a heavy, heat-expanded door in August.
This is why a calendar-based checklist works better here than a general “check it once a year” approach. You want to be touching your door when the seasons change, not when you happen to think about it.
If you’re noticing a problem right now rather than planning ahead, our garage door repair service covers the full range of fixes, and a free estimate will tell you what you’re actually dealing with.
Brand-Specific Lubrication Points: Clopay, Wayne Dalton, and Amarr
Generic garage door advice says “lubricate your hinges and rollers.” That’s not wrong, but it’s incomplete. Different manufacturers use different hinge and roller specifications, and applying the same lubricant in the same way to a Clopay door and a Wayne Dalton door misses the points where each system actually wears. Here’s what we look at on the three most common brands in Broken Arrow homes.
Clopay
Clopay steel doors typically use nylon rollers on their residential systems, which are quieter than steel rollers but don’t need as much lubricant. Over-lubricating nylon rollers attracts dust that builds up and actually causes binding. Apply a light, even coat of silicone-based lubricant to the hinge pins and the torsion spring coils only. Skip the roller surface itself unless the roller is metal.
Wayne Dalton
Wayne Dalton doors commonly use a mix of roller types depending on the model, and their hinge assemblies tend to have more contact points than Clopay’s. The hinge knuckles and the roller stems need lubrication at every single hinge, not just the ones that look dry. Pay particular attention to the hinges at the top and bottom of the door, which carry the most load.
Amarr
Amarr steel doors often have a slightly different track profile, and the rollers sit in a way that makes track lubrication less critical but hinge-pin lubrication more important. Use a white lithium grease or a silicone spray on the hinge pins and the spring coils. Avoid heavy grease on any part that will collect Oklahoma dust, which is everywhere in summer.
If your door is an Amarr, Clopay, or Wayne Dalton and you’re not sure what lubricant is appropriate, our team at Morningstar Garage Door Repair can tell you what your specific model needs when we’re out for an estimate. We work on all three regularly across Broken Arrow and the surrounding area.
What lubricant to use, in plain terms:
- Silicone spray for nylon rollers and most hinge pins. It’s clean and doesn’t attract dust.
- White lithium grease for metal-to-metal contact points, like torsion spring coils and hinge knuckles on heavier doors.
- Never use WD-40 as a garage door lubricant. It’s a solvent, not a lubricant, and it will strip existing grease and leave parts dry.
Checking Your Bottom Seal After Freeze-Thaw Cycles
The bottom seal is the rubber strip that runs along the bottom edge of your door and compresses against the floor when the door closes. It’s the most exposed rubber component on your whole door, and it’s the first thing to fail in Broken Arrow’s freeze-thaw cycles. When the seal cracks or loses its compression, you get air infiltration, water intrusion during spring storms, and eventually pests finding their way in. Manufacturers often assume a five-year seal life, but in this climate we regularly see seals showing real wear well before that.
Here’s how to check it in about two minutes:
- Close the door fully and look along the bottom edge from inside the garage. You’re looking for daylight between the seal and the floor. Any visible gap means the seal has lost compression.
- Press the seal with your thumb along its full length. It should feel soft and springy and bounce back when you release it. If it feels hard, brittle, or doesn’t rebound, it’s cracked internally even if you can’t see it.
- Look for visible cracks or missing chunks at the corners and along the edges. Corners fail first because that’s where the seal bends most.
- Check the sides too. The vertical weatherstripping along the door jambs takes the same abuse and often fails at the same time. Run your hand along the edge and feel for gaps or loose sections.
If the seal is failing, replacing it is a small job. It’s one of the cheapest things you can do to protect the rest of the door and keep your garage dry through Broken Arrow’s spring storm season.
Opener Self-Diagnostics: LiftMaster, Chamberlain, and Genie
Before you call anyone, your opener can often tell you what’s wrong if you know what to look for. LiftMaster, Chamberlain, and Genie openers all have built-in diagnostic systems, and the codes they display or blink out are not the same across brands. Running a quick diagnostic before you call gives any technician a major head start and can save you a service visit for something simple.
LiftMaster
LiftMaster openers with a battery backup or smart-control panel typically show error codes on an LED display or blink a diagnostic sequence. Check the owner’s manual for your specific model’s code meanings, because a LiftMaster error code that indicates a safety sensor issue on one model can indicate a different problem on another. Common issues show up as the opener reversing immediately, refusing to close, or the light flashing in a specific pattern. LiftMaster’s MyQ app, if you have it connected, often reports the problem in plain language before the opener even shows a code.
Chamberlain
Chamberlain openers (which share much of the same platform architecture as LiftMaster) typically blink a diagnostic LED near the learn button. Count the blinks and match them to the chart in your manual. The most common Chamberlain blink codes indicate safety sensor alignment, travel limit issues, or a logic board fault. Sensor alignment is the most frequent cause of a Chamberlain door that won’t close, and it’s usually a matter of clearing an obstruction or nudging the sensor back into line.
Genie
Genie openers approach diagnostics differently. Many Genie models use a status light that flashes in patterns or a series of beeps, and the Genie owner’s manual is the definitive source for decoding them. Genie models with a display panel show numbered codes that map to specific faults. A Genie opener that runs but doesn’t move the door often indicates a stripped gear or a broken drive belt, which show up as distinct symptoms from a power or logic fault.
If your diagnostic run points to something internal, our garage door opener repair service is specific to the opener itself: motor, logic board, sensors, drive system, and the smart-home components many other companies treat as an afterthought. We work on all three brands above and can tell you from experience which failures are worth repairing and which point to replacement.
Reading Your Torsion Spring: The 60-90 Day Warning Window
A torsion spring rarely fails without warning. The trick is knowing what to look for. If you inspect your spring regularly and see certain visual signs, you can often tell that replacement is 60 to 90 days out rather than an emergency waiting to happen. That planning window is worth having: you schedule the replacement on your terms instead of discovering the problem when your car is trapped inside the garage.
What to look for on a torsion spring (from a safe distance, with the door closed and the opener disengaged):
- A visible gap in the coil. A spring should be a continuous, tight coil from one end to the other. A gap of even a fraction of an inch means the spring has begun to stretch and is near the end of its useful life.
- Rust or discoloration along the coil. Rust spots weaken the steel and are a sign the spring has been under extended stress. In a Broken Arrow summer, this shows up faster than in cooler climates.
- A slight sag or curve in the straight section. A healthy torsion spring is straight. If it’s beginning to bow or sag, that’s a warning sign.
- Increased noise when the door operates. A spring that groans or thumps during operation is telling you it’s working harder than it should.
- The door feels heavier than it used to. Disengage the opener (pull the red release handle) and lift the door manually. If you have to use real effort to lift it, or it doesn’t stay up when you let go, the spring is losing tension and replacement is likely coming soon.
If you see any of these signs, don’t wait for the spring to break. Schedule an inspection. A spring that snaps can damage the door, the opener, and anything in the immediate area, so the planning window is genuinely valuable.
Important safety note: Torsion springs and their cables are under extreme tension. Never attempt to adjust, loosen, or replace a torsion spring or cable yourself. This is the single most dangerous component of any garage door, and it has injured experienced technicians who made a small mistake. Read your spring’s condition, note what you see, and call a trained professional for anything beyond a visual inspection.
Building a Seasonal Service Log That Helps Any Technician
A simple log is the most underrated maintenance tool a homeowner can have. When something goes wrong, the difference between a technician who can solve the problem in one visit and one who has to make a second trip usually comes down to knowing the door’s history. A few minutes of logging each season turns your door from an unknown quantity into a system with a clear history. It also makes it easy to spot patterns on your own before the issue becomes urgent.
Here’s a simple format that works for any door:
- Date and season. Just note the date and which seasonal check it was (late spring, fall, etc.).
- Lubricant applied. Note which parts you lubricated (hinges, rollers, spring, tracks) and with what (silicone, lithium grease).
- Seal condition. Note whether the bottom seal and side weatherstripping showed any cracks, gaps, or hardening.
- Spring observation. Note any gap, sag, rust, or discoloration. “No visible change” is a valid entry.
- Opener behavior. Note any change in noise, speed, or reversal issues. If you ran a diagnostic, note the code or light pattern.
- Balance check result. Note whether the door lifted evenly and stayed up when disengaged.
- Any noises or issues observed. A short sentence is enough. “Noticed a slight squeak on the left hinge” tells a technician a lot.
Keep the log in the garage, taped inside the garage door opener housing cover, or in a note on your phone. Any technician who sees it on a first visit can read the history and understand what the door has been through in Broken Arrow’s climate. In our experience, that history is often worth more than any visual diagnosis at the time of the visit.
What You Should Never Attempt Yourself
Some maintenance is a homeowner project. Some of it genuinely isn’t. The difference is clear once you know where the danger actually lies, and it isn’t in the hinge lubrication or the seal check. It’s in the parts under tension and the electrical components that drive the door.
- Torsion springs and cables. These are under extreme tension and can cause serious injury if handled incorrectly. Do not adjust, loosen, or replace them yourself.
- Opener electrical wiring. If your opener needs new wiring, a new outlet, or any work on the circuit feeding it, that’s a job for an electrician or a licensed technician, not a homeowner.
- Track alignment. A door that’s off-track is heavy and unpredictable. Pushing a track back into place against a loaded door is dangerous. Leave track work to a technician.
- Replacing an opener alone. A new opener install involves mounting, tension adjustment, safety sensor alignment, and force calibration. Getting it wrong can leave the door operating unsafely.
- Anything that involves lifting the door beyond what it’s designed to do. If the door feels wrong when you lift it manually, set it down and call a professional.
When the fix is beyond what you can safely do, our team is here. Broken Arrow homeowners can call us for a free estimate on any of the issues above, and we’ll tell you honestly if it’s something you could handle yourself.
How Often Should You Do This in Broken Arrow?
Twice a year as a baseline, more often if you have a door that gets heavy daily use. Do a full lubrication and inspection pass in early fall (October is the sweet spot, before the first real cold snaps), and again in late spring after the last freeze-thaw cycles have finished. Then check the bottom seal and run an opener diagnostic after any significant cold snap or storm. If you want the simplest version of the routine, break it into two seasons:
Fall (October-November)
- Lubricate hinges, rollers, and torsion spring.
- Check the bottom seal and side weatherstripping for hardening or cracks.
- Perform the manual balance test with the opener disengaged.
- Inspect the torsion spring for gaps, rust, or sagging.
- Run the opener diagnostic and note the results in your log.
Spring (April-May)
- Repeat all the fall checks.
- Check for loose hinge screws and snug them up gently (do not overtighten).
- Inspect the track for debris, dents, or misalignment.
- Check the bottom seal and side weatherstripping again after winter.
- Update the seasonal log with anything you noticed through the winter.
If your door is a Clopay, Amarr, Wayne Dalton, LiftMaster, Chamberlain, Genie, Craftsman, or Raynor system and you want to know exactly what your model needs, our team works on all eight brands. The generic checklist is a good starting point; the brand-specific checklist is what keeps the door healthy for the long run.
Common Mistakes to Avoid
- Using WD-40 instead of proper garage door lubricant. It dissolves existing grease and leaves moving parts dry, which accelerates wear on your hinges and rollers. Use silicone spray or white lithium grease appropriate to the part.
- Lubricating nylon rollers. Clopay and several other brands use nylon rollers that don’t need lubrication. Coating them attracts dust that binds the roller in the track.
- Skipping the seal check in winter. Broken Arrow freeze-thaw cycles crack seals faster than manufacturers’ timelines suggest. Check after every cycle, not once a year.
- Ignoring the “warning signs” on the spring. A gap, sag, or rust spot is a 60-90 day warning. Waiting until the spring snaps means the repair is no longer planned, it’s an emergency.
- Manually forcing a stuck door. When the door won’t lift smoothly, forcing it puts stress on springs, cables, and the opener. Stop, engage the release, and call.
- Not keeping any record. Without a log, a technician wastes the first visit doing diagnostics that your history would have answered. Spend two minutes and write things down.
- Running an opener past its capacity. A door that’s gotten heavier because of a failing spring makes the opener work harder. Left too long, the opener motor or logic board fails next, turning a spring job into a spring-plus-opener job.
See the difference
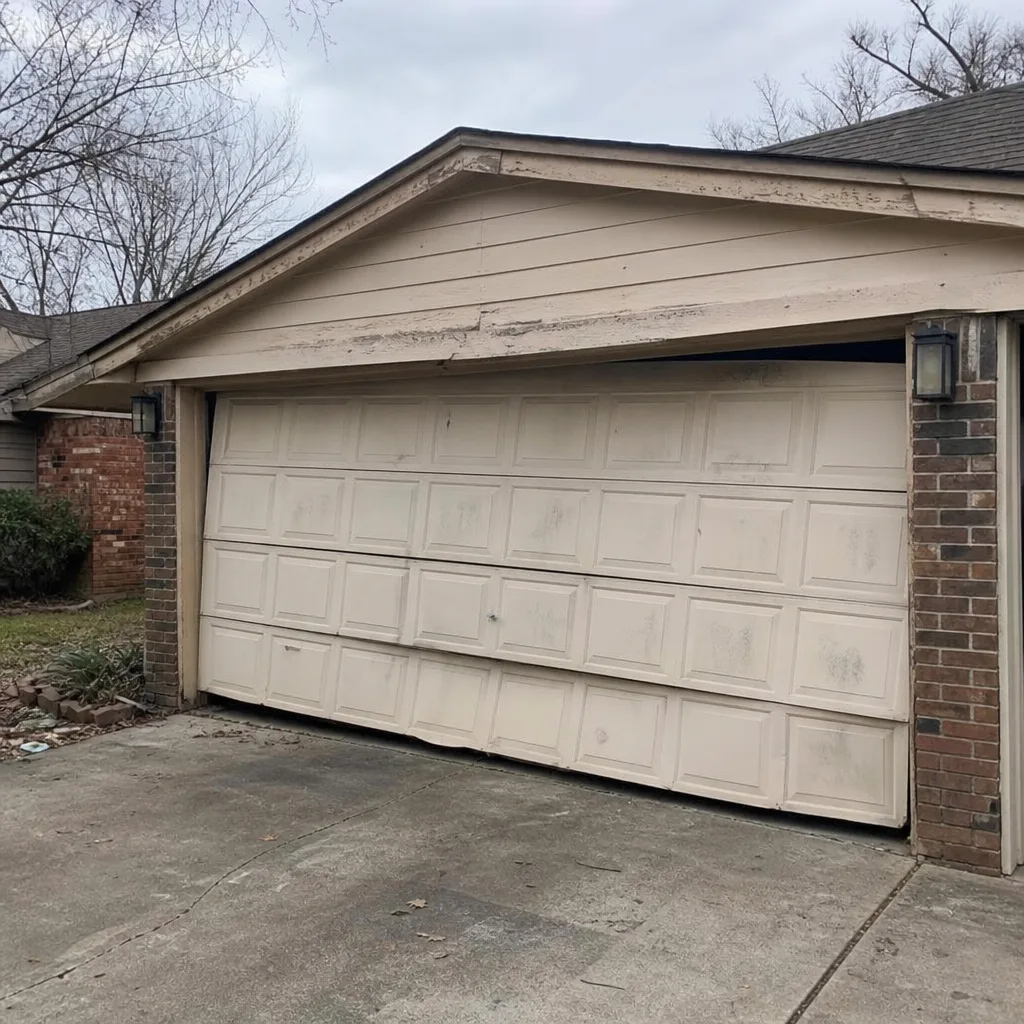 Before
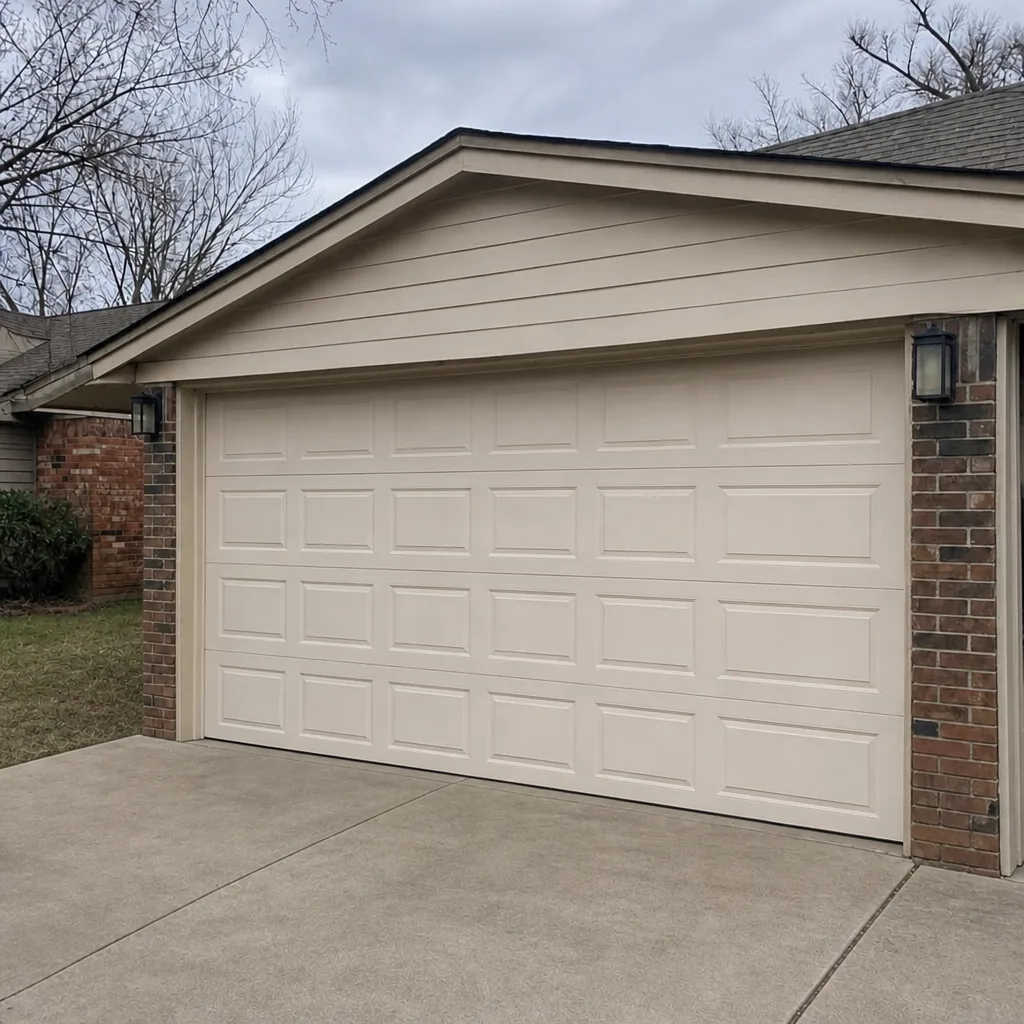 After
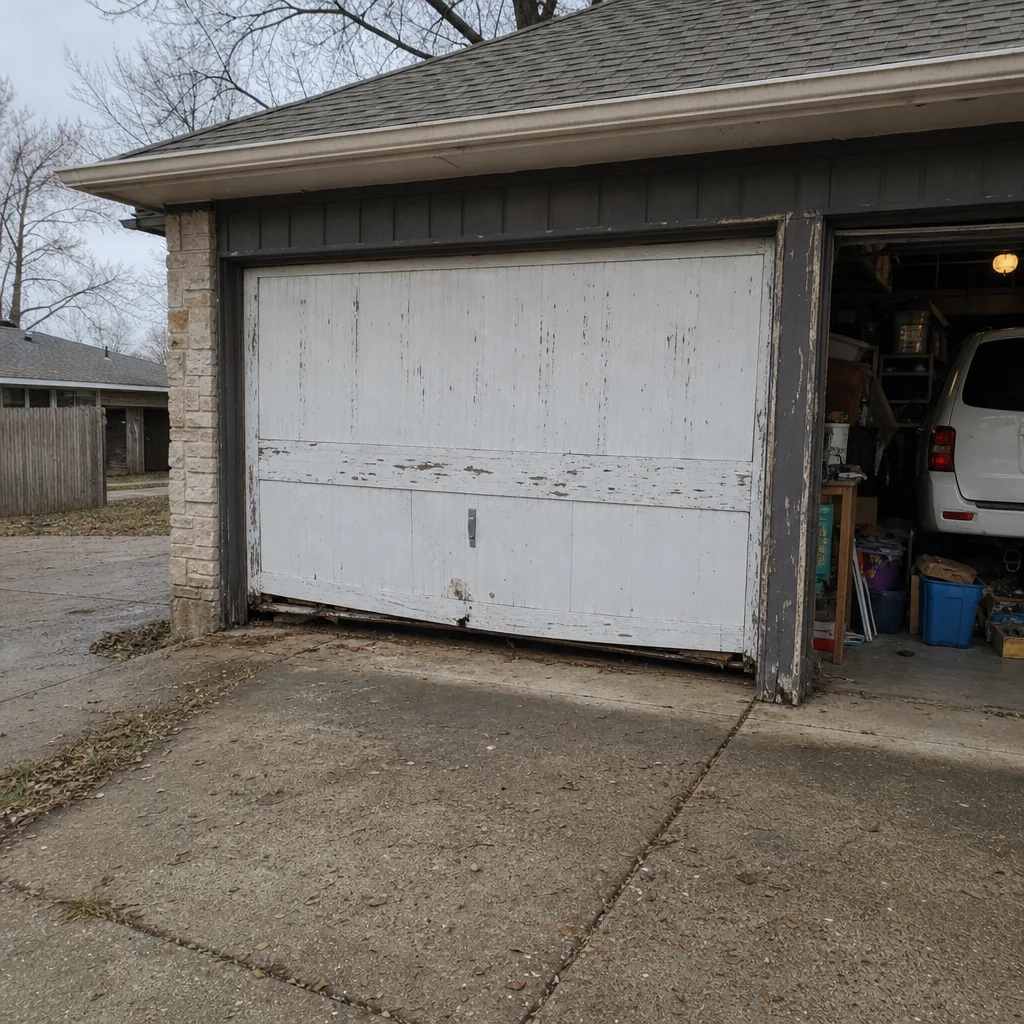 Before
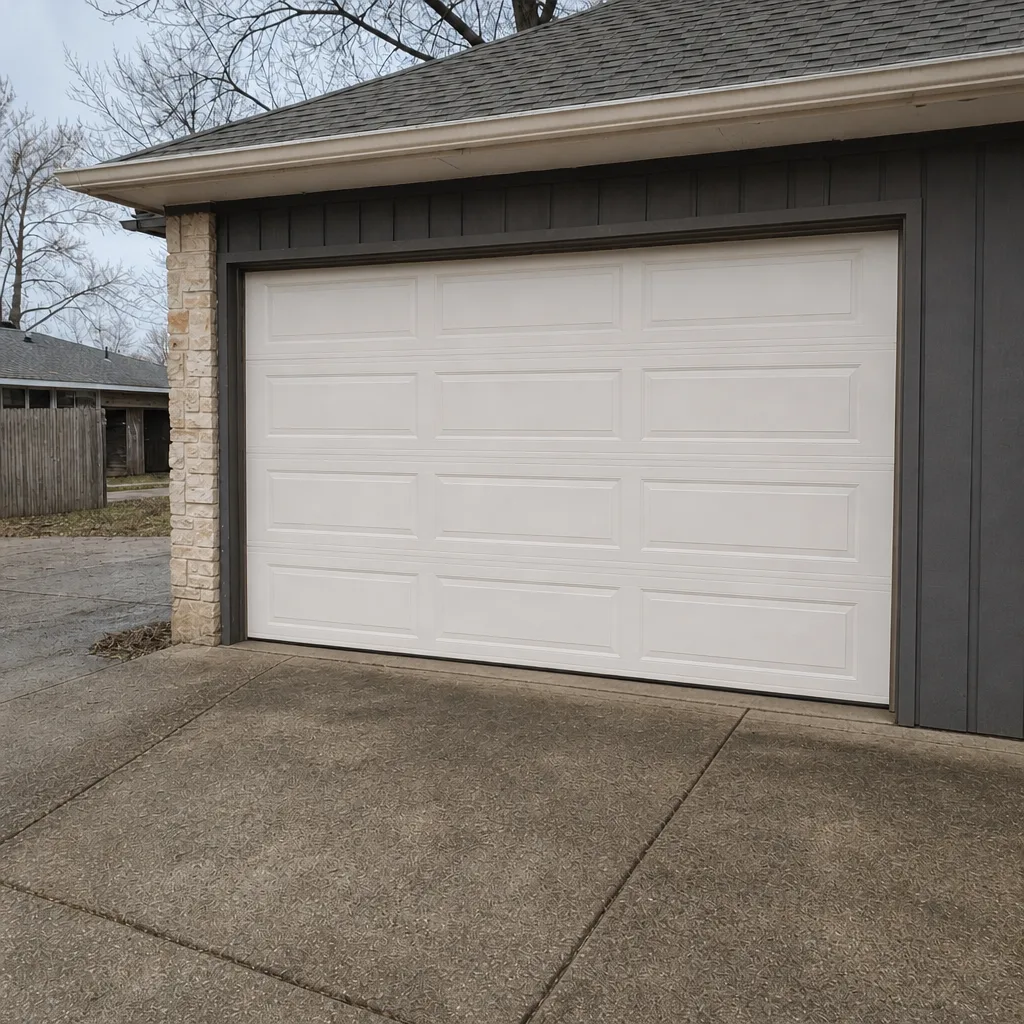 After
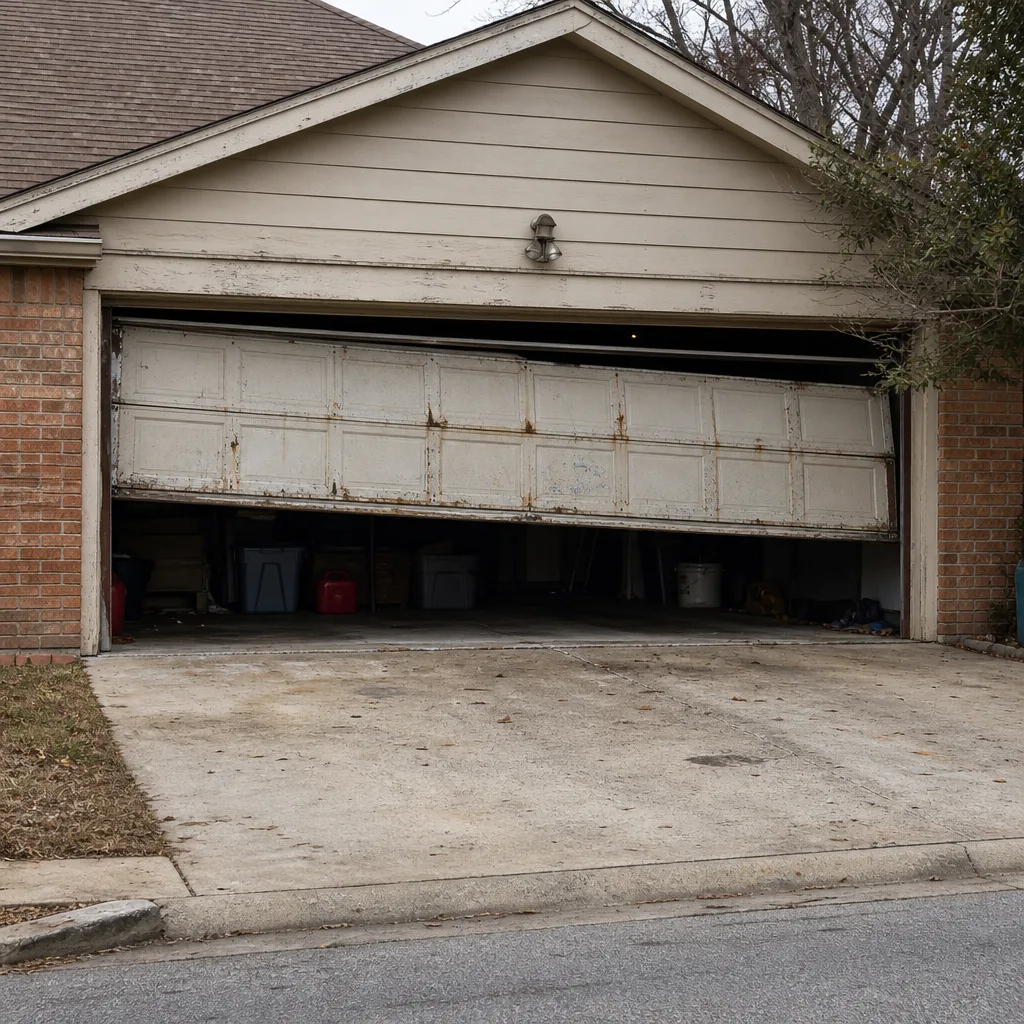 Before
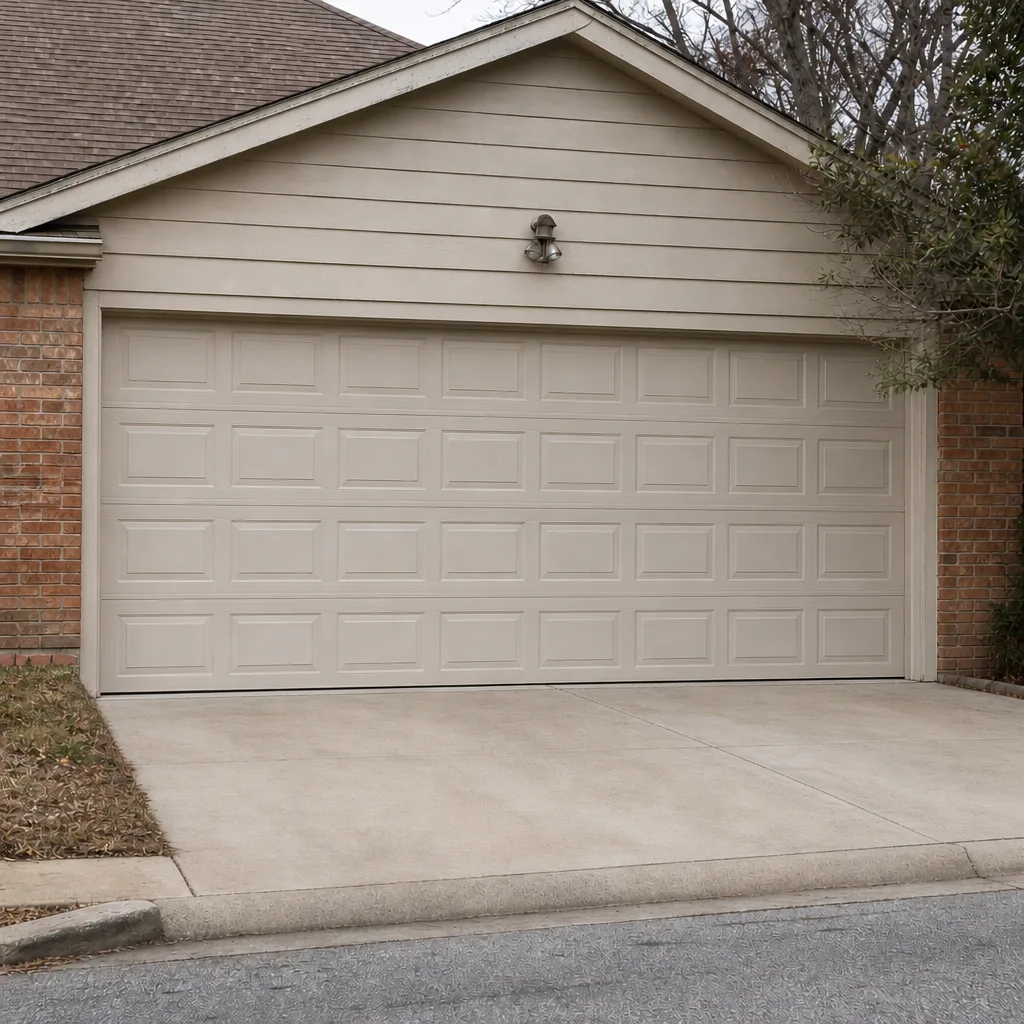 After
When to Call a Professional
Some jobs are a lubricant and a good eye. Others need a technician with the right tools and the training to work around springs and electrical components safely. Call us if you see any of the following: a gap or sag in your torsion spring; the door feels unusually heavy when lifted manually; the door reverses immediately after touching the floor; the opener’s diagnostic shows an error code you can’t decode; you see rust along the spring or cables; the bottom seal is cracked, hard, or letting in daylight; or the door is off-track or visibly misaligned. Morningstar Garage Door Repair offers free estimates in Broken Arrow. Call (844) 320-3275. We answer 24/7. Fast dispatch from 7am to 7pm, Sunday through Friday. Our technicians have up to 13 years of experience and work on Clopay, Amarr, Wayne Dalton, and the other major brands found in this area.
Frequently Asked Questions
Twice a year as a baseline: once in early fall before the cold snaps and once in late spring after the freeze-thaw cycles have finished. If your door gets heavy daily use, lubricate more often. The fall cycle matters most because that’s when metal contracts fastest, and a single missed fall lubrication is the most common cause of premature spring failure we see.
Find your opener’s manual and match the blink pattern or LED code to the diagnostic chart for your specific model. LiftMaster, Chamberlain, and Genie all use different code systems, so the manual is the only reliable decoder. Write down the code, note what the door was doing when it happened, and add it to your log. Call (844) 320-3275 with the code handy and we’ll have a better idea of what to bring.
Look for a visible gap in the coil, rust or discoloration, a slight sag, increased noise during operation, or a door that feels heavier than it should when you lift it manually. Any of these means replacement is likely 60 to 90 days out. Don’t touch the spring itself. Torsion springs are under extreme tension and dangerous to adjust. Call a trained professional for anything beyond a visual inspection.
Morningstar Garage Door Repair works with independent local professionals who perform the work, and we can confirm credentialing for your specific service when you call. Ask us directly about licensing and insurance for your job, and we’ll give you the specifics before we schedule. Call (844) 320-3275 for details.
Not urgent, but don’t wait. A cracked bottom seal lets in water, air, and pests. In Broken Arrow’s spring storm season, that means water intrusion around the door’s base, which can damage the door’s bottom panel and the floor. Replacing the seal is a small job, and it’s much cheaper than repairing the damage a failed seal can cause over a season. Call for a free estimate.
Usually, yes. A seasonal log tells a technician what the door has been doing, what’s changed, and when. In our experience, a homeowner with a six-month log often gets a faster diagnosis and avoids a second visit because the history points straight to the problem. Keep the log simple: date, what you checked, what you saw. That’s enough.
The Bottom Line
Garage door maintenance in Broken Arrow isn’t complicated, but it is climate-specific. Lubricate twice a year with the right product for your brand (silicone on Clopay nylon rollers, lithium on Wayne Dalton hinge pins, and no WD-40 anywhere). Check your bottom seal after every freeze-thaw cycle, run your opener’s self-diagnostic before you call, and watch your torsion spring for the visual signs that signal replacement 60 to 90 days out rather than tomorrow. Keep a simple seasonal log. And when something looks wrong that you can’t safely fix, call us: Morningstar Garage Door Repair, (844) 320-3275. Estimates are free, and our technicians have up to 13 years of experience working on the brands you actually own.
Written by the team at Morningstar Garage Door Repair.